Text Field
A text field lets the user enter text, either with hardware keyboard or with an onscreen keyboard.
Using a TextField class is an easy way to allow user input. And use a TextEditingController, as described here. This will give you access to the text state.
If you making a Form where you require save, reset, or validate multiple fields at once, use TextFormField, which integrates with the Form widget.
To use without a Form, pass a GlobalKey to the constructor and use GlobalKey.currentState to save or reset the form field.
Use InputDecoration objects to text field decoration. The border, labels, icons, and styles used to decorate a Material Design text field.
Basic example for use TextField,
- InputDecoration
Text Field
Underline Input Border
A default border of InputDecoration is UnderlineInputBorder, you might not need to set a border. If you want to set it just use border: UnderlineInputBorder().

TextField(
  decoration: InputDecoration(
    labelText: 'Label Text',
  ),
)
Add background with underline input border.
Container(
  padding: const EdgeInsets.only(left: 16, right: 16, bottom: 16),
  decoration: BoxDecoration(
    boxShadow: const <BoxShadow>[
      BoxShadow(
        color: Color.fromRGBO(0, 0, 0, 0.05),
        offset: Offset(0, 0),
        blurRadius: 20,
        spreadRadius: 5,
      )
    ],
    color: Colors.white,
    borderRadius: BorderRadius.circular(8),
  ),
  child: TextFormField(
    decoration: const InputDecoration(
      labelText: "Label text",
    ),
  ),
)
Outline Input Border
Draws a rounded rectangle around an InputDecorator's container.
Set border of InputDecoration to OutlineInputBorder.

TextField(
  decoration: InputDecoration(
    border: OutlineInputBorder(
        borderRadius: BorderRadius.all(Radius.circular(8))),
    labelText: 'Label Text',
    helperText: 'Message goes here',
  ),
)
Error Text
This sample shows how to create a TextField with hint text, a red border on all sides, and an error message. To display a red border and error message, provide errorText to the InputDecoration constructor.
Use errorText, border will become colored red.

TextField(
  decoration: InputDecoration(
    border: OutlineInputBorder(
        borderRadius: BorderRadius.all(Radius.circular(8))),
    labelText: 'Label Text',
    errorText: 'Error Text',
  ),
)
Helper Text
helperText is additional text. It displays the helperText below the input area to help the user understand what input is required.

TextField(
  decoration: InputDecoration(
    labelText: 'Label Text',
    helperText: 'Message goes here',
  ),
)
Hint/Link Text
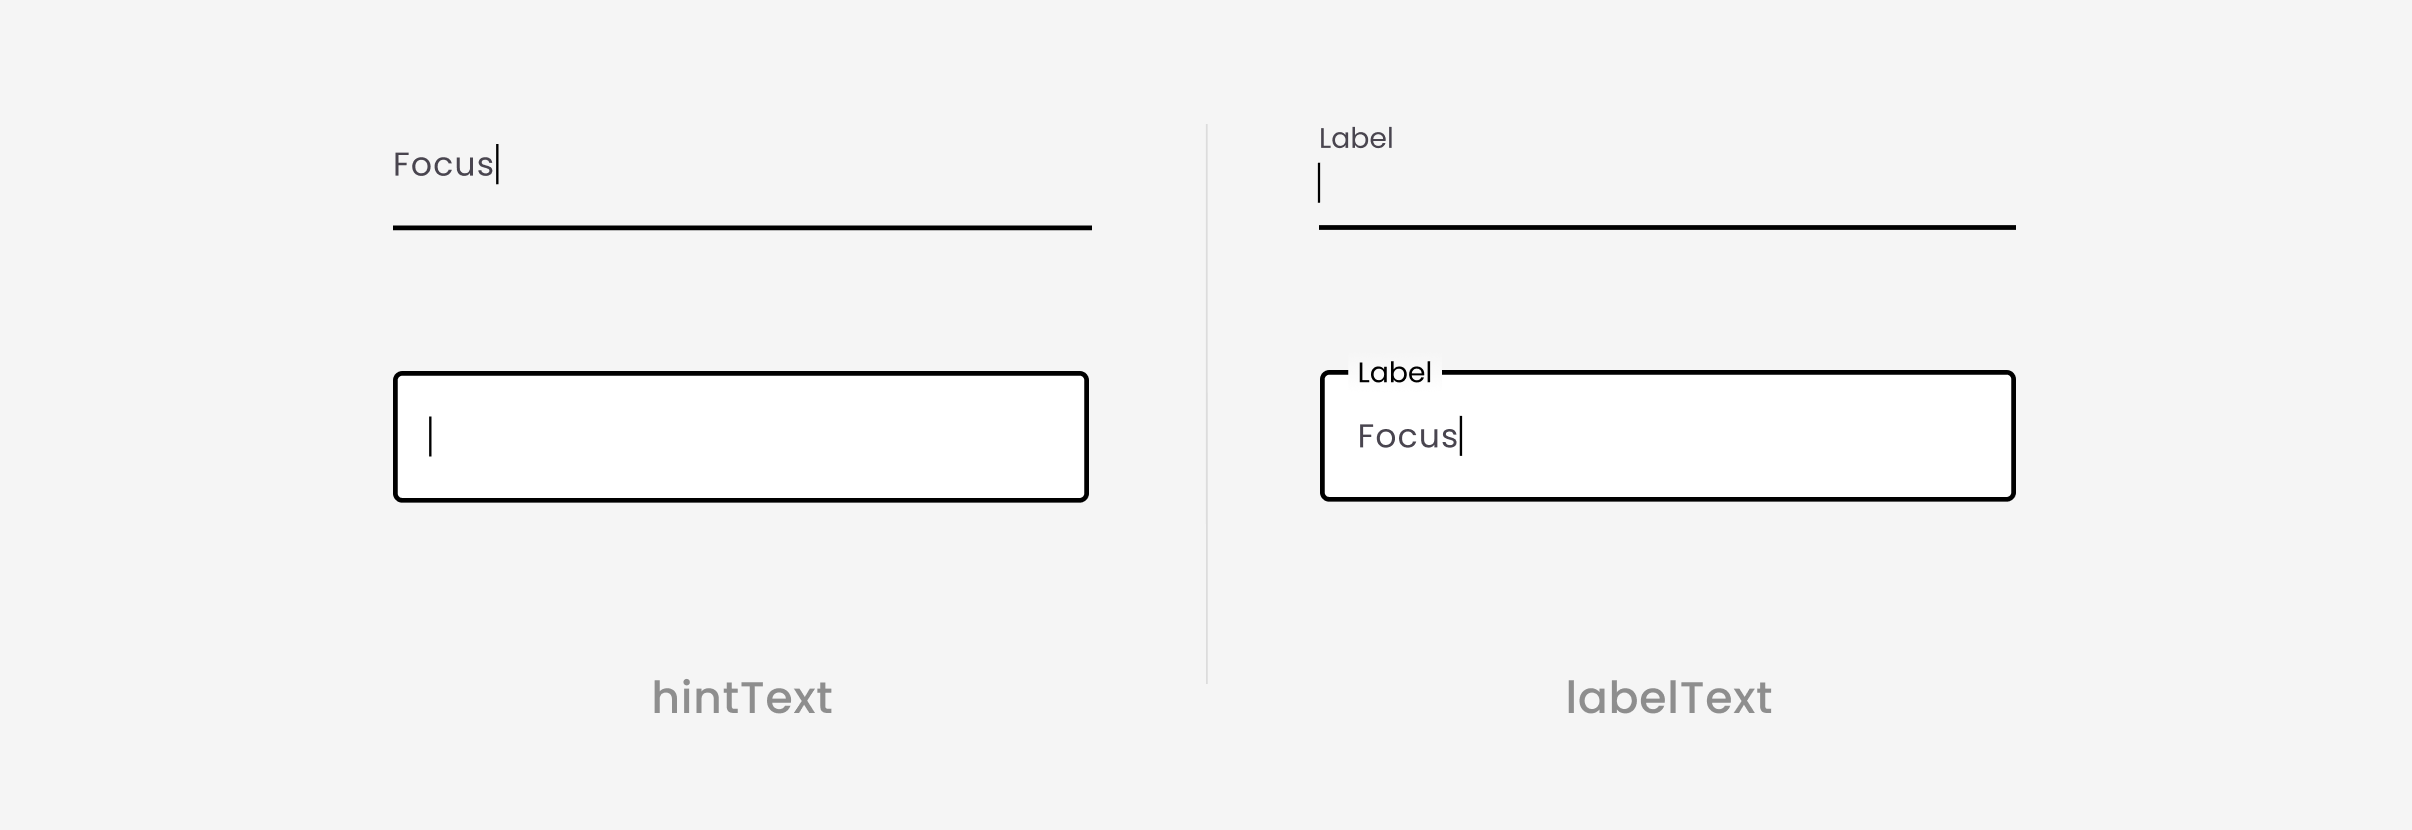
The hintText displays inside the input area to help the user understand what input is required.
Different from LabelText that when user focus, hintText will disappear. The labelText will be shown as hint which is animating to the top when the cursor is getting focused.

TextField(
  decoration: InputDecoration(
    hintText: 'Hint Text',
  ),
)
TextField(
  decoration: InputDecoration(
    labelText: 'Label Text',
  ),
)
Suffix
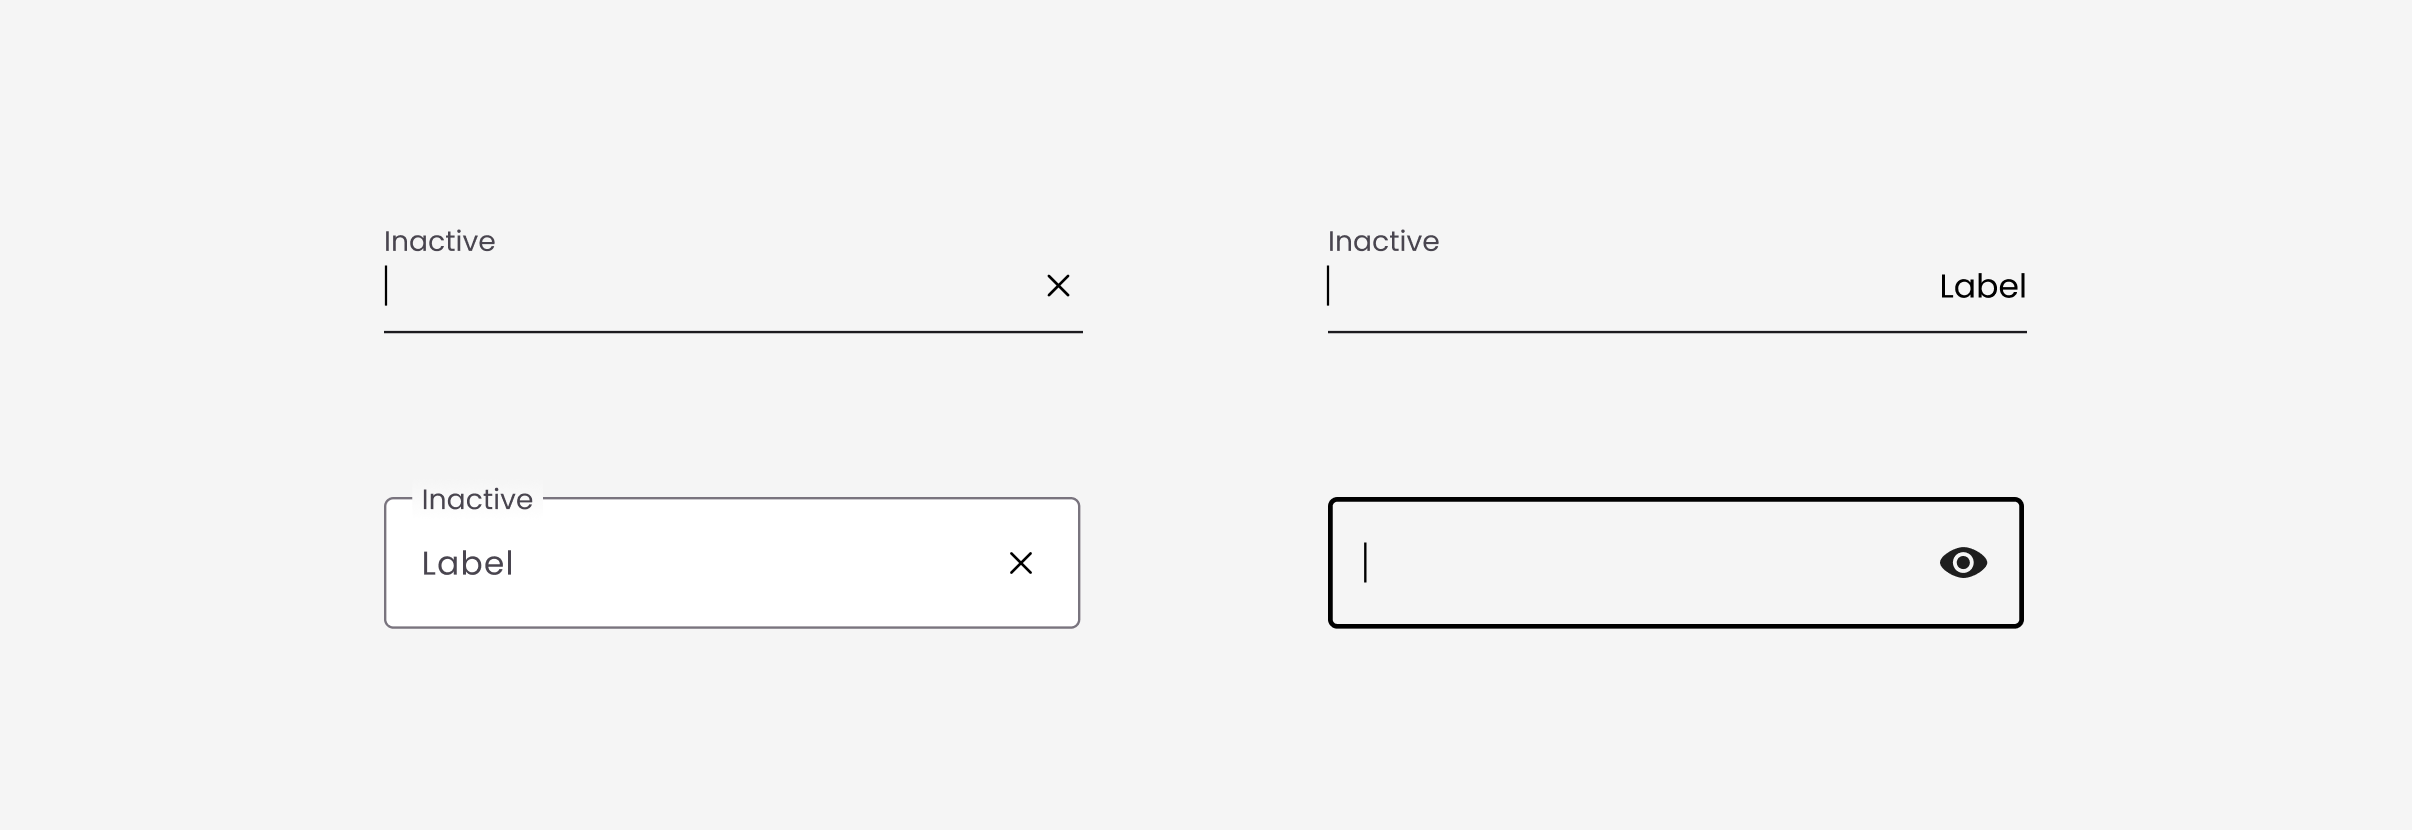
This sample shows how to style a TextField with a round border and additional text before and after the input area. It displays "Suffix" after the input area.
NOTE: There are also "Prefix" additional text before the input area.

TextField(
  decoration: InputDecoration(
    suffix: IconButton(
      constraints: BoxConstraints(maxHeight: 36),
      onPressed:  () {}, //ตรงนี้เอาไว้ใช้สำหรับ clear field ได้
      icon: Icon(Icons.clear),
    ),
    labelText: 'Label Text',
  ),
)
Examples
Text Field
This sample shows how to clear a value from a TextField via TextEditingController.
NOTE:
TextEditingControlleralso can get a value.
import 'package:flutter/material.dart';
void main() => runApp(const MyApp());
class MyApp extends StatelessWidget {
const MyApp({Key? key}) : super(key: key);
static const String _title = 'TextField Code Sample';
Widget build(BuildContext context) {
return MaterialApp(
title: _title,
home: Scaffold(
appBar: AppBar(title: const Text(_title)),
body: MyStatefulWidget(),
),
);
}
}
class MyStatefulWidget extends StatefulWidget {
const MyStatefulWidget({Key? key}) : super(key: key);
State<MyStatefulWidget> createState() => _MyStatefulWidgetState();
}
class _MyStatefulWidgetState extends State<MyStatefulWidget> {
late TextEditingController _controller;
void initState() {
super.initState();
_controller = TextEditingController();
}
void dispose() {
_controller.dispose();
super.dispose();
}
Widget build(BuildContext context) {
return Scaffold(
body: Center(
child: TextField(
controller: _controller,
decoration: InputDecoration(
suffix: IconButton(
constraints: BoxConstraints(maxHeight: 36),
onPressed: _controller.clear,
icon: Icon(Icons.clear),
),
labelText: 'Label Text',
),
),
),
);
}
}
Search
This sample shows search box and clear a value.

import 'package:flutter/material.dart';
void main() => runApp(const MyApp());
class MyApp extends StatelessWidget {
const MyApp({Key? key}) : super(key: key);
static const String _title = 'Search TextField Code Sample';
Widget build(BuildContext context) {
return MaterialApp(
title: _title,
home: Scaffold(
appBar: AppBar(title: const Text(_title)),
body: MyStatefulWidget(),
),
);
}
}
class MyStatefulWidget extends StatefulWidget {
const MyStatefulWidget({Key? key}) : super(key: key);
State<MyStatefulWidget> createState() => _MyStatefulWidgetState();
}
class _MyStatefulWidgetState extends State<MyStatefulWidget> {
late TextEditingController _controller;
void initState() {
super.initState();
_controller = TextEditingController();
}
void dispose() {
_controller.dispose();
super.dispose();
}
// This function is triggered when the clear buttion is pressed
void _clearTextField() {
// Clear everything in the text field
_controller.clear();
// Call setState to update the UI
setState(() {});
}
Widget build(BuildContext context) {
return Scaffold(
body: Center(
child: TextFormField(
controller: _controller,
onChanged: (value) {
// Call setState to update the UI
setState(() {});
},
decoration: InputDecoration(
border: OutlineInputBorder(
borderRadius: BorderRadius.all(Radius.circular(28))),
hintText: 'Enter a search term',
prefixIcon: Icon(Icons.search),
suffixIcon: _controller.text.isEmpty
? null
: IconButton(
icon: const Icon(Icons.cancel),
onPressed: _clearTextField,
),
),
),
),
);
}
}